Whether it’s back-to-school, a de-cluttering mission or simply refreshing your workspace; a phone stand helps organize your desk better. It also makes it easier to see incoming notifications and enhance desktop aesthetic. Here’s a list of 3 fresh phone stand ideas, two of which are easy DIYs. Best thing about those phone stands is their versatility making them more than a mere accessory.

- The brochure holder
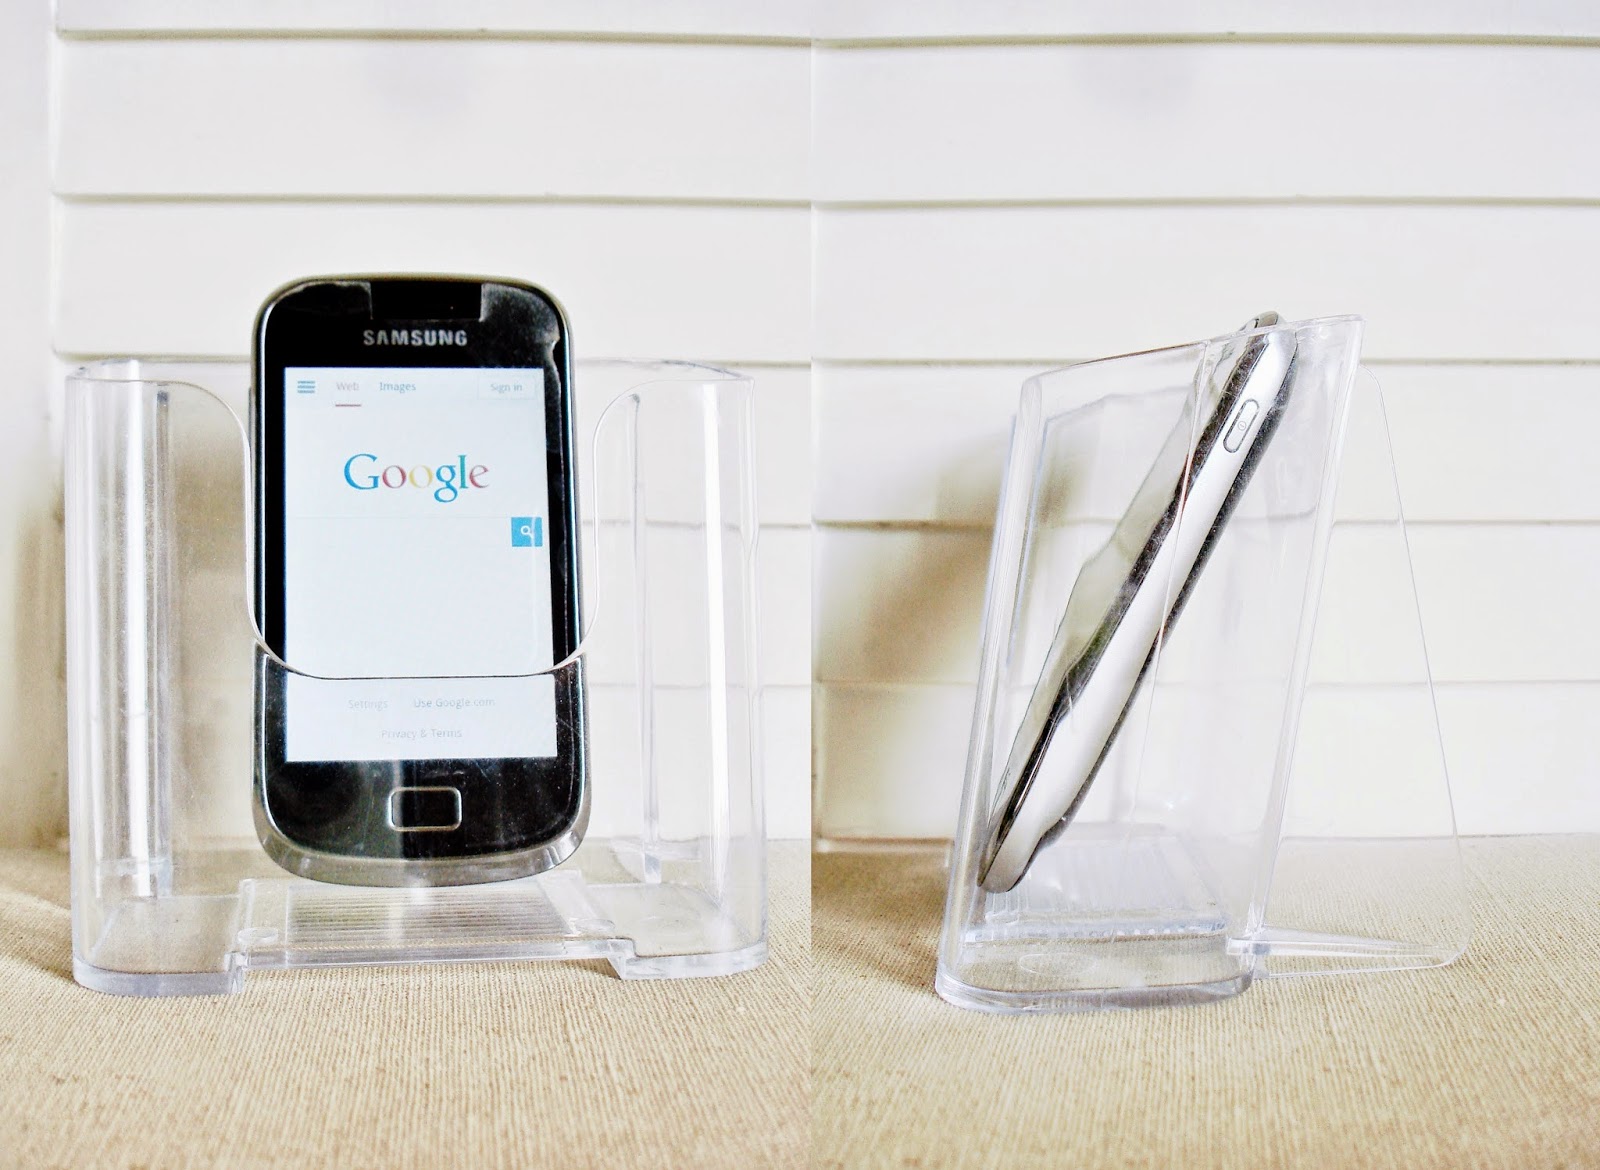
I recently found acrylic office accessories in a local stationary, one of which was a brochure holder that made a perfect habitat for a phone. It also doubles up as an inexpensive loudspeaker too, an unexpected plus! Those brochure holders are wonderful for being well priced and spacious enough to also add in a few pens and supplies. Its transparency is very practical for incoming notifications and helps maintain a clear, uncluttered desk impression. - The Lego holderRecently I’ve been seeing more Lego around (The Lego movie, LEGO cable holders and ‘LEGO ideas’ are only 3 examples). LEGO is wonderful: It’s modular, versatile, fun and very functional. For this DIY, all you need is a LEGO board to hold your phone and a handful of LEGO blocks to support it. The phone holder can also double as a time manager by integrating the Pomodoro technique where LEGO blocks represent 25-minute work increments for tasks at hand. You can also build in a notepad holder or a pen holder on the side. The possibilities are endless!
- The frame holderThis DIY is a little more laborious than piecing LEGO bricks together, but still very easy, and artistic!You'll need:
- a picture frame (that your phone can fit in)
- a U-shaped file (or any sheet of malleable transparent plastic)
- decorative paper (wrapping paper, magazine clippings, decorative shopping bags, etc) or a sheet of blank paper
- scissors
- tape
You might also need pencil and ruler for cutting. That’s it!


Steps:
- First, design a background for the frame. This could be anything from a photographed scene to a textured collage. If it’s a collage, tape/glue the collage together once you've decided on the design. Then center your artwork on the frame’s board (tape can help here too).
A little side note: If the papers’ creased, employ the creases! Try to turn creases into a pattern, or hide it by another cutout. In the example below, I turned a crease in the patterned paper into a regular pattern and used it to cover a fold on the palm tree background. - Cut the U-shaped file to use half of one its sides. It’s best to cut
more than half and then trim later. This will be the pocket where you store
your phone.

A tip for easier cutting, tear - slowly - along the file’s scored sides.
- Now, place the plastic over the frame, top it with your artwork and frame board, and then tape the plastic ends to the frame board.
 Make sure your phone fits in and there's enough room for it to be navigated easily in/out of the frame pocket before you trim any excess plastic or tape too much. You can use another, more permanent, adhesive but I find tape easier to alter and undo when needed.

- Use your phone frame holder!

As you can see, you can also add pens, clip on notes and keep more than just a phone in there.
If you don’t have a frame fit for a wide landscape view or want to consume less space, consider smaller frames. Here’s an example of one with a simple background:
And here's another portrait example, with a collage from magazine clippings: What do you think; do you have any other ideas for phone stands? Do you have any favorites from the suggested above? Feel free to comment below your thoughts.
Hope this was fruitful. If so, feel free to share!
Till the next post;
Noha Kareem

No comments:
Post a Comment